You can start with a $65 mic and a closet full of clothes. The real work is your room, your reads, and finding auditions, not gear. Here is what to buy, what to skip, and whether your phone is enough to start.
By Colin B. · Published November 1, 2026 · Last reviewed November 1, 2026
ATH-M40x
— Closed-back studio headphones that show you every mouth click.
Budget total
$235
Typical total
$340
A USB mic, headphones, boom arm, and isolation shield land near $340. A Samson Q2U setup gets you recording for about $235. An XLR chain adds an interface for about $160 more.
We earn commission on qualifying Amazon purchases — see our
affiliate disclosure.
Price tiers and budget totals shown above are editorial estimates;
actual Amazon prices vary.
At a glance
Our top pick in each category
The fastest path through this guide — each best-starter pick by category.
Scroll for the budget and upgrade alternatives.
Try your phone first. A modern phone in a closet full of clothes can sound surprisingly good, and it will teach you whether you enjoy editing your own takes. Record a one-minute read this weekend before buying anything. If you like the process, then buy a mic.
Your room matters more than your microphone. A $65 dynamic in a clothes closet will beat a $400 condenser in an empty bedroom every time. Hard walls bounce your voice back; soft things like clothes, rugs, and blankets stop it. Treat the space first, then upgrade the gear.
Start with USB, not XLR. An XLR chain (mic, cable, interface) is the professional path, but it costs twice as much and adds setup headaches. A good USB mic sounds fine for auditions and audiobooks. Upgrade when paid work tells you to.
The mic is the one purchase that shapes every file you send a client. The big decision is USB or XLR. USB plugs straight into your computer and is the fastest way to a clean audition. XLR needs an audio interface but lets you upgrade each piece separately later. Condensers sound detailed but hear your whole room; dynamics ignore the room but need to be close and want more gain. Start with USB unless you already know you are going pro.
Microphones — what's the difference?
A few common shapes, each making a different trade.
USB
Plug in and record. No extra boxes, no extra cost.
Needs interface
No
Typical price
$65-170
Upgrade path
Replace whole mic
Best for Beginners, auditions, anyone starting this week
Tradeoff Locked to a computer; you can't swap preamps later
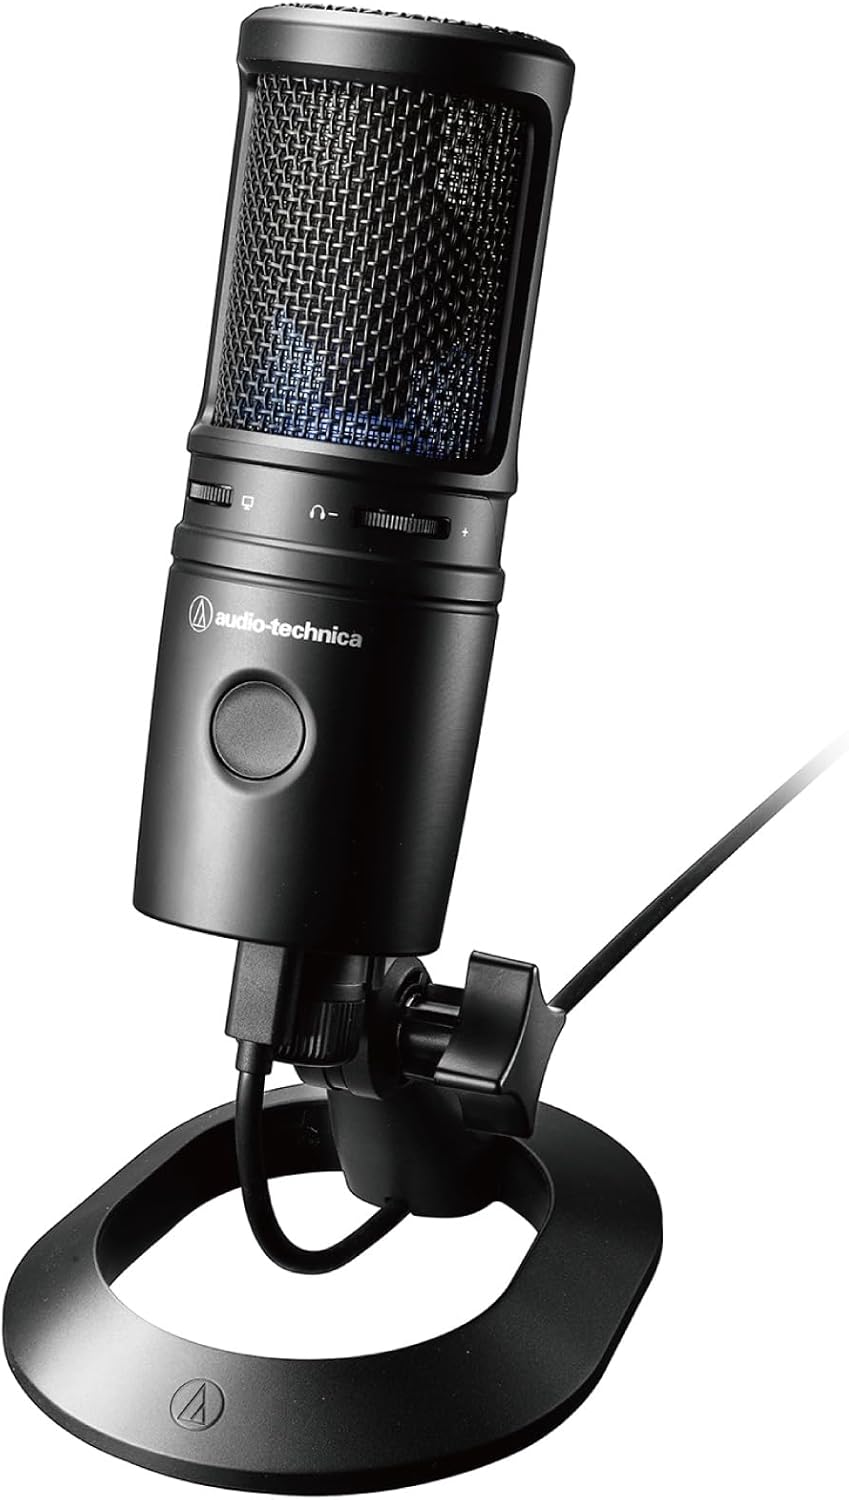
A studio-style cardioid condenser with USB-C, a headphone jack for zero-latency monitoring, and a mute button. It is detailed enough for audiobook auditions and simple enough that you will be recording within ten minutes of unboxing. This is the mic we would hand a friend.
What we like
Clean, detailed sound that clients expect from a condenser
Built-in headphone jack with a mix knob, so no latency
USB-C plugs in with no driver or interface needed
What to know
Picks up room echo, so it wants a shield or treated space
A handheld dynamic mic with both USB and XLR outputs for about $65. Dynamics ignore most room noise, which is a gift in an untreated bedroom. You can start on USB today and plug it into an interface later, so the money is never wasted.
A quiet, studio-grade condenser with both XLR and USB-C, plus 32-bit float recording that makes clipping nearly impossible. It is the mic that moves you from audition quality to client-ready without changing again for years.
What we like
Extremely low self-noise, so quiet takes stay quiet
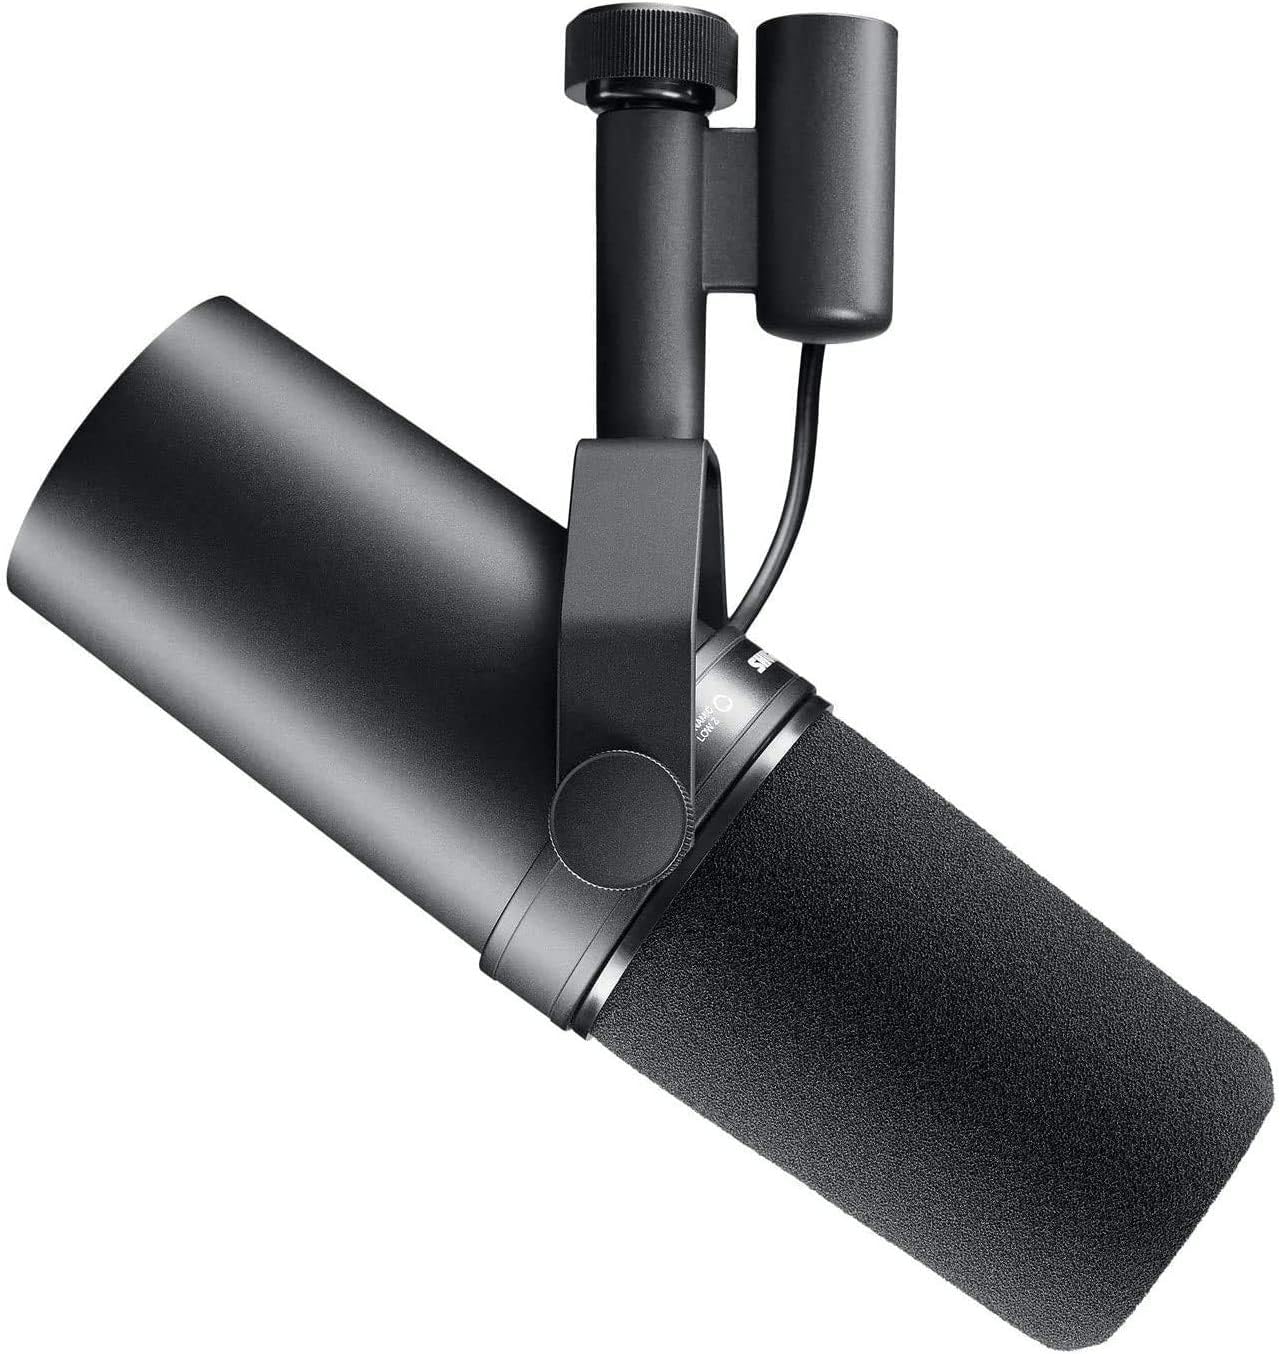
The broadcast and voiceover standard: warm, forgiving, and nearly immune to room sound. It is also hungry for gain, so budget for a clean preamp. Buy this when voice work is paying for itself, not before.
What we like
Industry-standard voice tone you hear on podcasts and audiobooks
You only need an interface if you chose an XLR mic. It converts the mic's signal into something your computer understands and supplies the 48V phantom power condensers need. Two inputs is plenty for solo voice work. Spend your money on preamp quality and a solid headphone output rather than extra inputs you will never use.
Best starter
Focusrite
Scarlett Solo 4th Gen
$159.99 as of Jun 22, 2026
★★★★★Our rating· In Stock
The default interface for a reason: a quiet preamp, an Air mode that adds presence to voice, and an Auto Gain feature that sets levels for you in ten seconds. It runs every XLR mic on this page, though the SM7B pushes its gain, and doesn't need drivers. Simple and reliable.
What we like
Auto Gain sets a safe level so you never clip a take
Clean preamp with enough gain for most mics
Simple one-mic layout that is hard to set up wrong
Audient makes studio consoles, and the EVO 4 borrows their preamp design. Its Smart Gain feature is also easy to use. It is a close alternative to the Scarlett at nearly the same price, with a slightly more solid feel and a big knob that controls headphone and monitor volume.
What we like
Console-grade preamps in a small desktop box
Smart Gain sets levels automatically
Two XLR combo inputs, handy for a guest
What to know
Fewer accessories and less software than Focusrite
Gain is limited with very hungry mics like the SM7B
You need closed-back, wired headphones. Closed-back stops sound leaking into your mic; wired means no latency and no battery dying mid-session. Skip Bluetooth and anything with noise cancelling, which colours the sound. You are listening for mouth clicks, breaths, and background hum, so you want accuracy rather than bass.
Best starter
Audio-Technica
ATH-M40x
$109.00 as of Jun 22, 2026
★★★★★Our rating· In Stock
Flat, honest studio monitors that hold up for years. They make mouth noise and room hum obvious, which is exactly their job. The earcups swivel, the cables detach, and they fold flat for a bag.
What we like
Flat tuning shows edit problems you would otherwise miss
The headphone that has sat on studio and broadcast desks for decades. Brighter and more revealing than the M40x, folding, and cheap to repair. Many audiobook narrators will not work with anything else.
What we like
Revealing treble that exposes clicks and sibilance
Most beginner recordings fail because of the room, not the mic. Hard walls bounce your voice back and add a hollow echo that no plugin fully removes. The cheapest fix is a reflection shield behind the mic. Better still, record in a closet full of clothes. Treat the room before you spend more on the mic.
Best starter
Aokeo
Microphone Isolation Shield
$$
★★★★★Our rating
A foldable foam shield that sits behind your mic and soaks up the reflections that make a bedroom sound like a bedroom. At about $40 it does more for your sound than any mic upgrade at this price. It will not make a bad room great, but it takes the edge off.
What we like
Cuts the hollow bedroom echo for around $40
Folds up and stores in a closet
Mounts to a stand you already have
What to know
Does little against noise from outside the room
Works best only with a cardioid condenser, not a dynamic
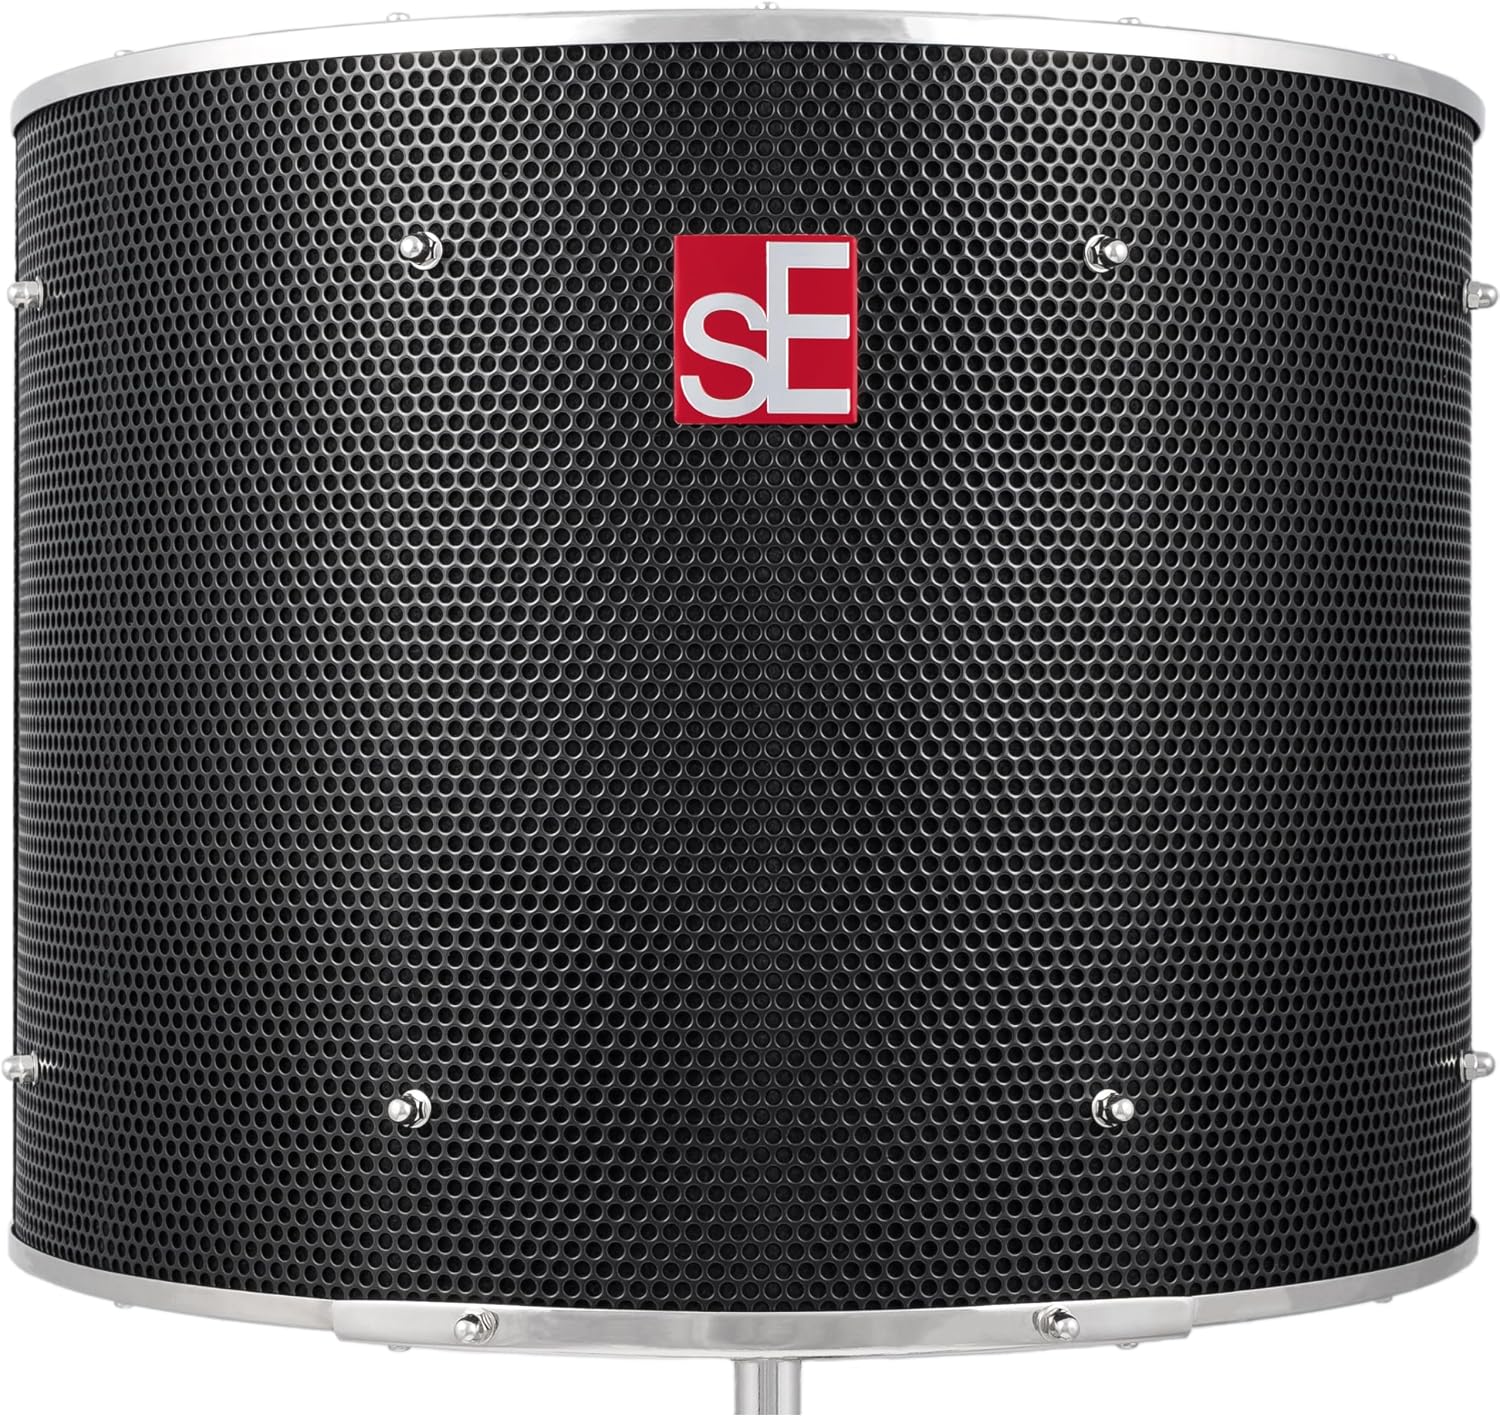
The multi-layer version used by working studios, and the one narrators carry to hotel rooms. It is much more effective than foam and much more expensive. Worth it if you record in a hard-walled room and cannot treat the walls.
What we like
Nine-layer design tames reflections better than foam
Heavy, rigid, and built to last
Mounts on any boom arm or stand
What to know
About $200 for what is, in the end, a curved panel
A boom arm gets the mic off your desk, away from keyboard thumps, and in front of your mouth where it belongs. It also lets you move out of the way between takes. Check the weight limit against your mic; light mics work with a cheap scissor arm, heavy ones need a spring-loaded arm built for broadcast.
Best starter
InnoGear
Microphone Boom Arm
$
★★★★★Our rating
A solid $20 scissor arm that includes a shock mount, windscreen, and pop filter. It holds mics up to about 3 pounds, which covers the AT2020USB-X, Q2U, and NT1. For starting out, there is no reason to spend more.
What we like
Around $20, with pop filter and adapters in the box
The arm you will still be using in ten years: smooth, silent, and rated for heavy broadcast mics like the SM7B. Internal springs hold position exactly and cable routing keeps the desk tidy.
A month-long plan for going from a quiet closet and a cheap mic to your first real audition: what to record, what to fix, and when to start looking for work.
Voice acting looks like a talent game, but the first month is mostly a sound-quality and habit game. Clients will forgive an average read faster than a noisy, echoey file. Fix the room, learn to edit, and read out loud every day, and you will be ahead of most people who audition.
Here is what the first thirty days actually look like.
Week 1: Find a quiet place and make a bad recording
Before you buy anything, record one minute of a book page on your phone. Do it in a closet full of hanging clothes, door closed, fridge and fans off. Then listen back with headphones.
You are listening for three things:
Echo. Does it sound like a bathroom? Add soft stuff. Blankets, a rug, a coat rack.
Hum and hiss. Fridges, computers, and air vents are the usual suspects. Turn them off while you record.
Your own mouth. Clicks, lip smacks, and loud breaths. Sip water and keep it nearby; a green apple slice helps dry mouth.
If you like this process, order a mic. The gear picks on this page cover which one.
When the mic arrives, set it up on a boom arm about a hand’s width from your mouth, slightly off to the side so your breath doesn’t hit it directly. Put a pop filter between you and the mic to soften the “p” and “b” sounds.
Then learn three things in free software like Audacity:
Set your level. Your loudest words should peak around -12 dB. Too quiet adds noise; too loud clips and cannot be fixed.
Cut the silence. Trim the start and end of each take.
Apply noise reduction lightly. Heavy settings make you sound like you are underwater. If it needs a lot, fix the room instead.
Don’t buy plugins. You don’t need them yet.
Week 3: Read out loud every day
This is the real training. Pick fifteen minutes and read something aloud, recording it. Rotate styles:
A news article for a neutral, conversational read.
A children’s book for energy and character voices.
A product description for commercial warmth.
A page of fiction for audiobook pacing.
Listen back and write down one thing to change. The most common beginner problems are reading too fast, dropping energy at the end of sentences, and sounding like you are reading. Aim for talking to one person, not performing for a crowd.
Audiobooks. Create a profile on ACX and audition for a royalty-share title in a genre you like to read. Many narrators begin here because the audition is a single page of text.
Commercial and character work. Sign up for Backstage or a similar site, then record short scripts with a clear direction.
Read the audition notes twice. Follow the stated format and file requirements exactly; ACX, for example, specifies loudness and noise-floor limits, and files that miss them get rejected before anyone hears you.
Don’t expect a booking on your first, fifth, or even twentieth audition. Treat the first month of auditions as practice with a deadline.
Buying gear too soon. The room is usually the problem, not the mic.
Editing out every breath. Silence with no breath sounds robotic. Reduce, don’t remove.
Over-acting. Beginners push too hard. Pull back and sound like yourself.
Skipping the listen-back. Your ears learn fastest from hearing yourself the next day.
What to do after day thirty
Keep a daily read going. Take a class or a single coaching session once you have a few weeks of recordings to bring. Start a demo reel only when you have clean reads you are proud of, and not before. Most working voice actors will tell you the same thing: consistency beats talent, and auditions are a volume game.
Save your money
What you don't need yet
Beginners get pressured to buy a lot of stuff that doesn't help them play
better. Here's what we'd skip on day one.
A full vocal booth — Pre-built booths cost $1,000 and up. A closet or a reflection shield gets 90% of the result.
Studio monitor speakers — You edit with headphones. Speakers are for music mixing, and they will pick up your room's problems.
A $400+ preamp or channel strip — Only matters with demanding mics like the SM7B. Your interface's preamp is fine for now.
Paid voice-over classes before you've recorded — Read a few scripts into your phone first. You will learn what to ask a coach.
Expensive editing software — Audacity and Reaper (a $60 license, with a free trial) do everything a beginner needs.
First week
Your first seven days
A short, real plan to get from gear-on-doorstep to actually playing.
Record a one-minute read on your phone in a closet full of clothes. Listen back with headphones. · Action
Yes, for practice. A phone in a closet full of clothes is a fine way to learn whether you enjoy it. For paid work, most clients and platforms like ACX expect clean, low-noise audio, so you will want a real mic within a few months.
Do I need an audio interface?
Only for XLR mics like the RØDE NT1 or Shure SM7B. A USB mic such as the AT2020USB-X connects directly to your computer. Start with USB and add an interface when you are ready for an XLR chain.
How much does a home voice acting setup cost?
About $235 for a budget setup (Samson Q2U, headphones, boom arm, shield) or about $340 for our recommended starter picks. A professional XLR chain with the SM7B costs closer to $850.
Where do beginners actually find work?
Audiobook narration through ACX is the most accessible starting point, with royalty-share and paid options. Voices.com and Backstage list commercial and character work, but expect to audition a lot before booking.
Do I need to treat my room?
Yes, in some way. You don't need foam on every wall. A reflection shield, a closet of clothes, or a blanket fort cut most echo for under $50.
As an Amazon Associate, JustBeginning earns from qualifying purchases.
We may also earn commission from other affiliate programs linked on this
page. Editorial recommendations are independent; we don't choose
products based on commission rates.
Product prices and availability are accurate as of the date and time
indicated and are subject to change. Any price and availability
information shown on Amazon at the time of purchase will apply.


 Best starter